
 Hello! Several years ago, I learned how to make raw chocolates from scratch. I believe that it was a recipe by Any Phyo that I found in the book and wanted to give a try as the chocolate-making at home seemed to be a pretty straightforward process.
In reality, the process was straightforward and a bit messy, however, the results were totally worth all the efforts. The homemade chocolates were so heavenly delicious that the store-bought varieties could not come anywhere close. Since then, I experimented with many different raw chocolate recipes. There are many variations posted on the internet. Some of them recommend using fewer oils or fats and more of the cacao powder, and vice versa. Others called for different types of sweeteners such as maple syrup or honey. All these recipes turned out pretty good. One thing I want to mention is that the quality of the ingredients really matters! To get the best tasting, smooth, homogenous, bitter-sweet chocolate, use the best ingredients that are available. You want to select the ingredients that are raw, unrefined, organic, and pure (without additives or preservatives or flavors). Today, I’m sharing with you one of the recipes that I like the most; I can call it a “full-proof” recipe. Every single time I followed this recipe, I got great results.
The ingredients:
- 1/8 cup raw, unrefined, virgin coconut oil
- 1/8 cup raw cacao butter
- 1/4 cup raw coconut nectar or any other liquid sweetener (maple syrup, date syrup, or honey)
- 1/2 cup raw cacao powder
Equipment:
- A double boiler (or a large and a small pot) for melting the coconut oil and the cacao butter
- A wooden teaspoon
- Silicone molds
The method of preparation:
- In a double boiler, bring 2 cups of water to a boil and turn the heat off. Alternatively, boil the water in a large pot and put the dry and empty smaller pot into it.
- Place cacao butter in the double boiler (or into a smaller pot) and allow it to melt completely. Add coconut oil and let it melt as well. This step may take a few minutes.
- When both fats turn into liquid, stir in the liquid sweetener of your choice.
- When the liquid becomes homogenous, add cacao powder and mix it all well. The final mixture looks glossy and homogenous and has a rather thick consistency.
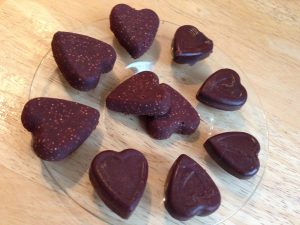
- Start filling up the molds using a teaspoon. If the chocolate mixture hardens, warm it up a bit to make it liquid. Place the filled with chocolate molds into a freezer for at least 8 hours to firm up.
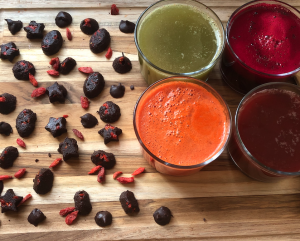
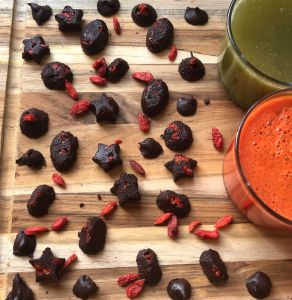
- To serve, press the chocolates out of the molds. Enjoy with tea or fresh vegetable juice. Store in a refrigerator for up to 14 days.
Enjoy! Nataliya
References: Baird, L. & Rodwel, J. (2005). The complete book of raw food. Healthy Living Books: New York, NY
 Today, I’m sharing with you one of my favorite recipes – the quinoa pancakes.
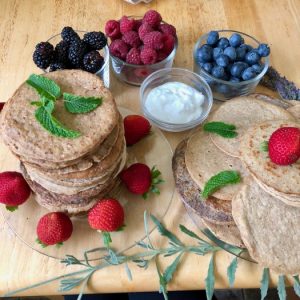 You will need the following ingredients:
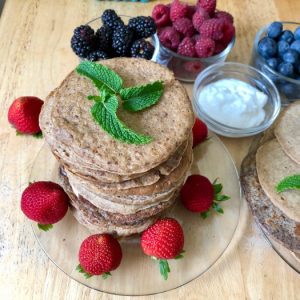
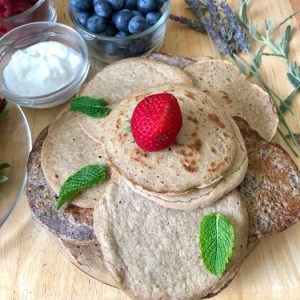 What I love about this recipe is that the pancakes have a neutral taste and can be enjoyed with both sweet and savory meals or snacks. As a sweet version, I like to serve them with berries, fruits, and coconut yogurt. For a savory twist, I serve them with veggies, salads, and dressings (taco-like style). On this image below, you can see 3 pancakes, each served with the arugula leaves, slices of tomato and red onion, and avocado cubes. In this version, the pancakes work as flatbreads or soft tacos.
 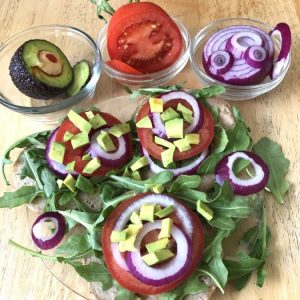 Additionally, I soaked and sprouted the quinoa seeds, which is an easy step that can improve the digestibility and nutrient availability. Moreover, soaked and sprouted quinoa gives you more pancakes if compared with those made from the unsoaked quinoa. Note that this recipe does not need any flour; the whole quinoa seeds were soaked and sprouted and blended together with banana, flax seeds, and water. Here is a full recipe, enjoy!
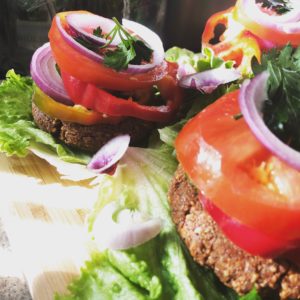 I’m excited to finally share with you a very delicious recipe: Raw Vegan “Burgers”!
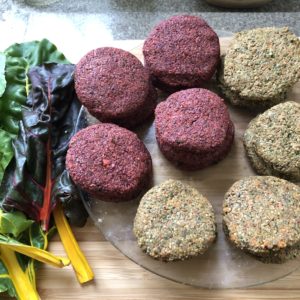 I just wanted to mentioned one more thing: some people pay attention to the color of the vegan “burger”, and, as I learned, it mostly depends on the ingredients that you use.
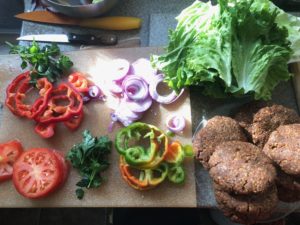 What you will need: