 Recently, I had to cook a batch of soybeans for a client. Yes, they were organic and non-GMO, and it took some time to find. If you are lucky to live near a Natural Food Store such as Rainbow Grocery in San Francisco or others that carry them in bulk, that’s great. Online shopping is another option; the Nuts.com, Amazon, and some farmers sell the dried beans online.
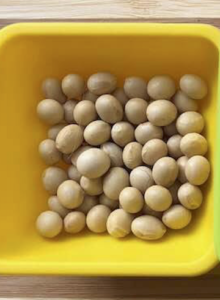
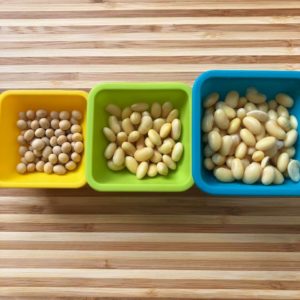
Dried soybeans.
Step 1. Soak the beans.
Before I soak the beans, I like to rinse them once. Then, in a bowl, I put 1 cup of beans and add 4 cups of cold water. Why so much water? The beans expand about 3 times from their dried size and they soak up, like a sponge, a lot of water. At this point, I add a teaspoon of lemon juice or apple cider vinegar to assist with the fermentation process. Then, I leave the beans on the counter overnight or for at least 8 hours. Read the recipe here.

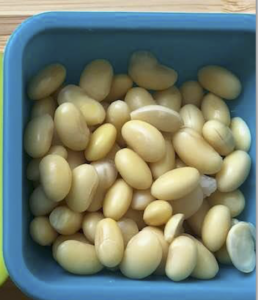
This is how the beans look after soaking. Notice their expanded size. If you look closer, you will see the tiny sprouting tails.
Step 2. Cook the beans.
After soaking, I drain the water, rinse the beans, place them into a pot, and add about 2 cups of water. I bring them to a gentle boil and cook on the lowest temperature for about 10-15 minutes. After I turn the heat off, I let the beans sweat under the closed lid for 10-15 minutes. (The cooking time differs for different types of legumes, but in general, it takes less time to cook pre-soaked beans.)
 Fully cooked soybeans. They expanded just a bit more during cooking and sweating process.
Step 3. Decide how you want to eat them.
If I plan to eat the beans on the same day, I usually drain the liquid and add the beans to salads, main dishes, soups, casseroles, or snacks. If I want to eat them a few days later, I do not drain them and keep the pot in the refrigerator for up to 3 days. If I plan to freeze them (which I rarely do as they usually run out after 2 days), then I would drain them first, and them freeze in portion-size containers.
Step 4. Making soymilk.
This time, I wanted to experiment and make my own organic, non-GMO soymilk.
I soaked and cooked the beans, and let it cool. I had about 1 and 1/2 cups of cooked beans and about the same amount of cooking liquid. Then, I blended the beans and the cooking liquid in a blender. After that, I poured the mixture into a nut milk bag to separate the liquid from the solids. After squeezing the liquid out well, I got about 3 cups of delicious, silky, smooth, slightly sweet soymilk. I think it is worth trying the homemade soymilk at least once in a lifetime because the taste and the texture are amazing and way superior to the packaged soymilks from the stores. Notice that I did not add any sweeteners, salt, or other ingredients; the soymilk was amazingly delicious in its plain version and it had no beany or pasty taste. It can be stored in a refrigerator for up to 3 days, and used in smoothies or Buddha bowls.
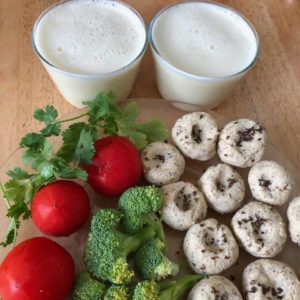 Homemade soymilk and the bean balls.
Step 5. What to do with the soybean pulp?
The soybean pulp that remained in a nut milk bag can be used in different ways. The fastest way is to put it into a compost. However, my favorite way is to utilize it into a recipe as it is full of nutrients and fiber. This time, I mixed it with some ground flax seeds, oregano, garlic, onion, salt, and lemon juice and rolled them up into the savory bean balls (falafel-like) and served them as snacks.
Hope you found this post interesting and got some inspiration for trying new recipes. Feel free to leave any comments.
The Recipe: Homemade soy milk
Ingredients:
- 1/3 cup soybeans, dried
- 4 cups water for soaking and cooking
Yield: 1 cup cooked beans or 3 cups of soy milk
Equipment: a bowl, a pot, a nut milk bag
Preparation:
- Place the dried beans into a bowl and add 2 cups of water.
- Soak overnight or for 8 hours.
- Drain soaking water, rinse the beans.
- Place soaked beans into a pot, add 2 cups of water, bring to boil and simmer on low heat for 10-15 minutes.
- Turn the heat off, and let the beans sweat under the lid for another 10-15 minutes. Let cool.
- In a blender, blend the beans together with a cooking liquid until smooth.
- Pour the mixture into a nut milk bag and squeeze as much liquid out as you can. This is the soy milk.
- Pour the soy milk in a cup and enjoy the pure deliciousness!
- Pour the rest of it into a glass jar and store in a refrigerator for up to 3 days.
Remove the pulp from the nut milk bag and either compost it or include it in other recipes. You can mix it with some ground flax seeds, spices, and salt and make the bean balls.
Cheers to healthy and fun eating!
Nataliya.

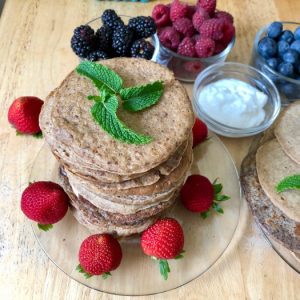 Today, I’m sharing with you one of my favorite recipes – the quinoa pancakes.
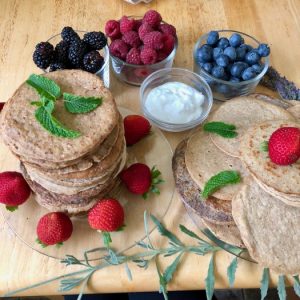 You will need the following ingredients:
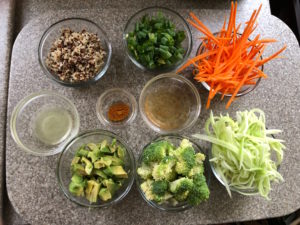
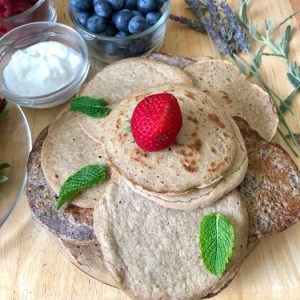 What I love about this recipe is that the pancakes have a neutral taste and can be enjoyed with both sweet and savory meals or snacks. As a sweet version, I like to serve them with berries, fruits, and coconut yogurt. For a savory twist, I serve them with veggies, salads, and dressings (taco-like style). On this image below, you can see 3 pancakes, each served with the arugula leaves, slices of tomato and red onion, and avocado cubes. In this version, the pancakes work as flatbreads or soft tacos.
 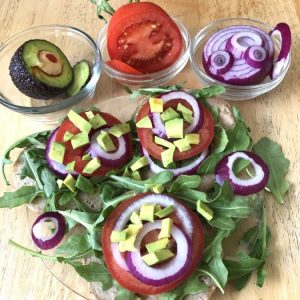 Additionally, I soaked and sprouted the quinoa seeds, which is an easy step that can improve the digestibility and nutrient availability. Moreover, soaked and sprouted quinoa gives you more pancakes if compared with those made from the unsoaked quinoa. Note that this recipe does not need any flour; the whole quinoa seeds were soaked and sprouted and blended together with banana, flax seeds, and water. Here is a full recipe, enjoy!
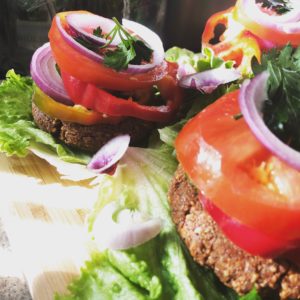 I’m excited to finally share with you a very delicious recipe: Raw Vegan “Burgers”!
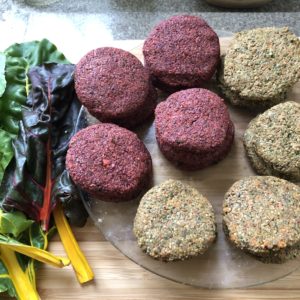 I just wanted to mentioned one more thing: some people pay attention to the color of the vegan “burger”, and, as I learned, it mostly depends on the ingredients that you use.
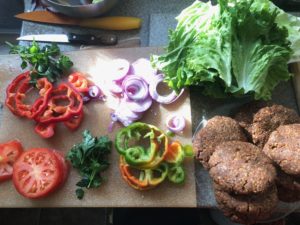 What you will need:
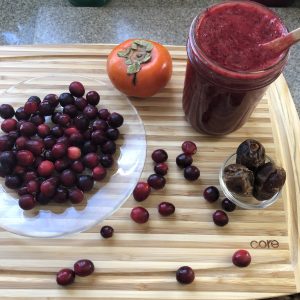
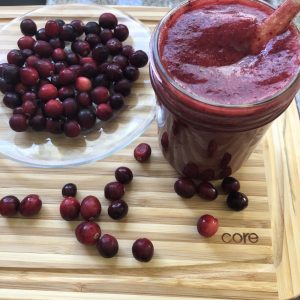
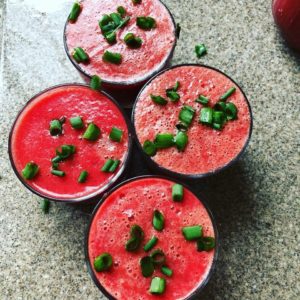 It is the end of summer and I like to celebrate it with vegetable juice prepared from some local and seasonal produce.
 Hello everybody,