Happy Independence Day weekend to everybody! It is a middle of the year and almost a middle of the summer. What is your favorite summer-time activity? For me, it is the appreciation of the long days filled with the sunshine and the delicious and colorful summer foods.
 Today, I’m sharing with you one of my favorite recipes – the quinoa pancakes.
It needs just a few ingredients, is easy to make, and tastes very good. Actually, both the sweet and savory versions of this recipe can be enjoyed year-round.
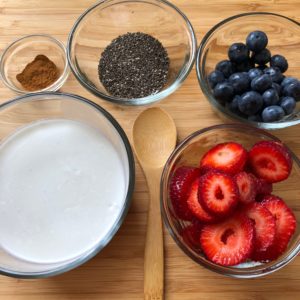
 You will need the following ingredients:
- Quinoa (white, red, or multicolored),
- ripe banana,
- flax seeds,
- water.
That’s it. You may use a little bit of coconut oil, however, it is optional if you use a non-stick skillet.
You will need this equipment: a bowl, blender, and non-stick skillet. The amount of preparation time can be reduced if you have more than one skillet. I typically use 3 small non-stick skillets, and in this case, the total preparation time takes about 5-7 minutes.
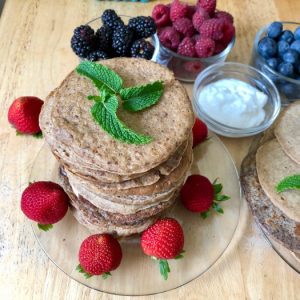
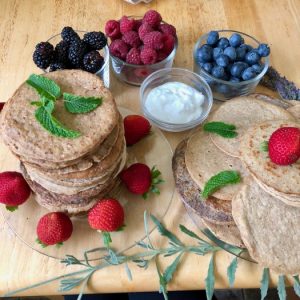
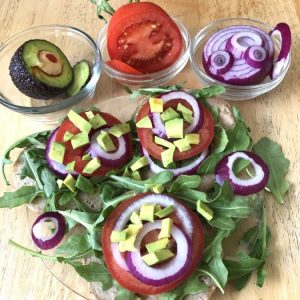
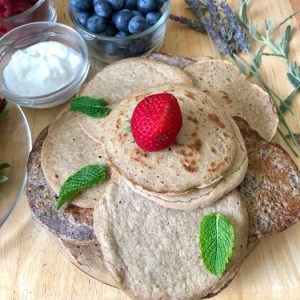 What I love about this recipe is that the pancakes have a neutral taste and can be enjoyed with both sweet and savory meals or snacks. As a sweet version, I like to serve them with berries, fruits, and coconut yogurt. For a savory twist, I serve them with veggies, salads, and dressings (taco-like style). On this image below, you can see 3 pancakes, each served with the arugula leaves, slices of tomato and red onion, and avocado cubes. In this version, the pancakes work as flatbreads or soft tacos.
 Additionally, I soaked and sprouted the quinoa seeds, which is an easy step that can improve the digestibility and nutrient availability. Moreover, soaked and sprouted quinoa gives you more pancakes if compared with those made from the unsoaked quinoa. Note that this recipe does not need any flour; the whole quinoa seeds were soaked and sprouted and blended together with banana, flax seeds, and water. Here is a full recipe, enjoy!
Download the recipe: Quinoa Pancakes
By the way, it is the middle of the year, and I’m wondering how are your new year resolution goals doing? How successful have you been so far? Which obstacles came your way?
Let’s discuss how I can help you to get back on track during the next 6 months.
Our first 20-minute discovery session is free of charge, and I can work with you as a wellness coach or/and a nutrition consultant, depending on your needs. Contact me today, I’m happy to see how I can help!
In best health,
Nataliya.